Explore Expert Nail Guides & Trends See What's Trending
Guide saved to your personal reading list
Nail Art

Valentine Nail Art: Romantic Hearts, Chrome & Velvet Pinks

Elevated Romantic Manicures: Beyond Cliché Hearts

Elena Rostova Editor-in-Chief & Master Nail Educator 13 min read
Verified by Elena Rostova • Master Nail Educator
Valentine Nail Art: Romantic Hearts, Chrome & Velvet Pinks

Editor's Key Takeaway

"Fall in love with romantic Valentine nail art: micro-heart accents, pink glazed chrome, velvet cat-eye shimmer, and subtle love letter scripts."

1. Beyond Cliché: The Elevated Romantic Nail Aesthetic

Valentine’s Day nail art historically suffered from a reputation of being gaudy: chunky red glitter, cartoonish hot-pink decals, and oversized plastic hearts that caught on clothing. In contemporary nail design, Valentine’s nail art has transformed into a masterclass in romantic, ethereal minimalism.

Modern romantic nail art focuses on whisper-thin micro-detailing, glazed light reflections, and tactile velvet textures. By pairing sheer, skin-toned nude foundations with delicate romantic motifs, the resulting manicure feels sophisticated, sensual, and versatile enough to wear long after February 14th has passed.

  • The Blushing Aura: Diffusing a soft, blooming rose-pink or cherry-red gradient outward from the center of a translucent milky base, mimicking the natural flush of romantic cheeks.
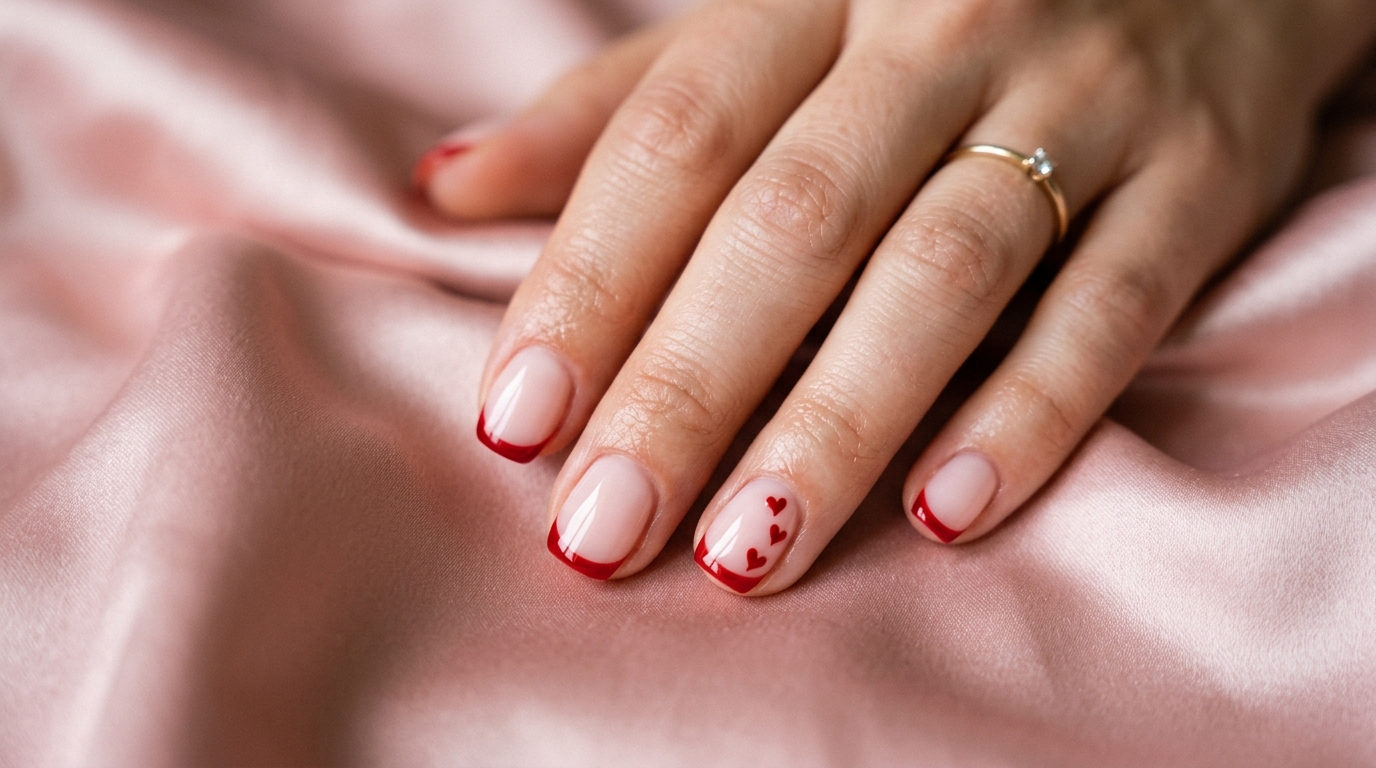
  • The Micro Floating Heart: Placing a single, perfectly proportioned 1.5mm red or pearl heart directly over the lunula or at the outer corner of the smile line.
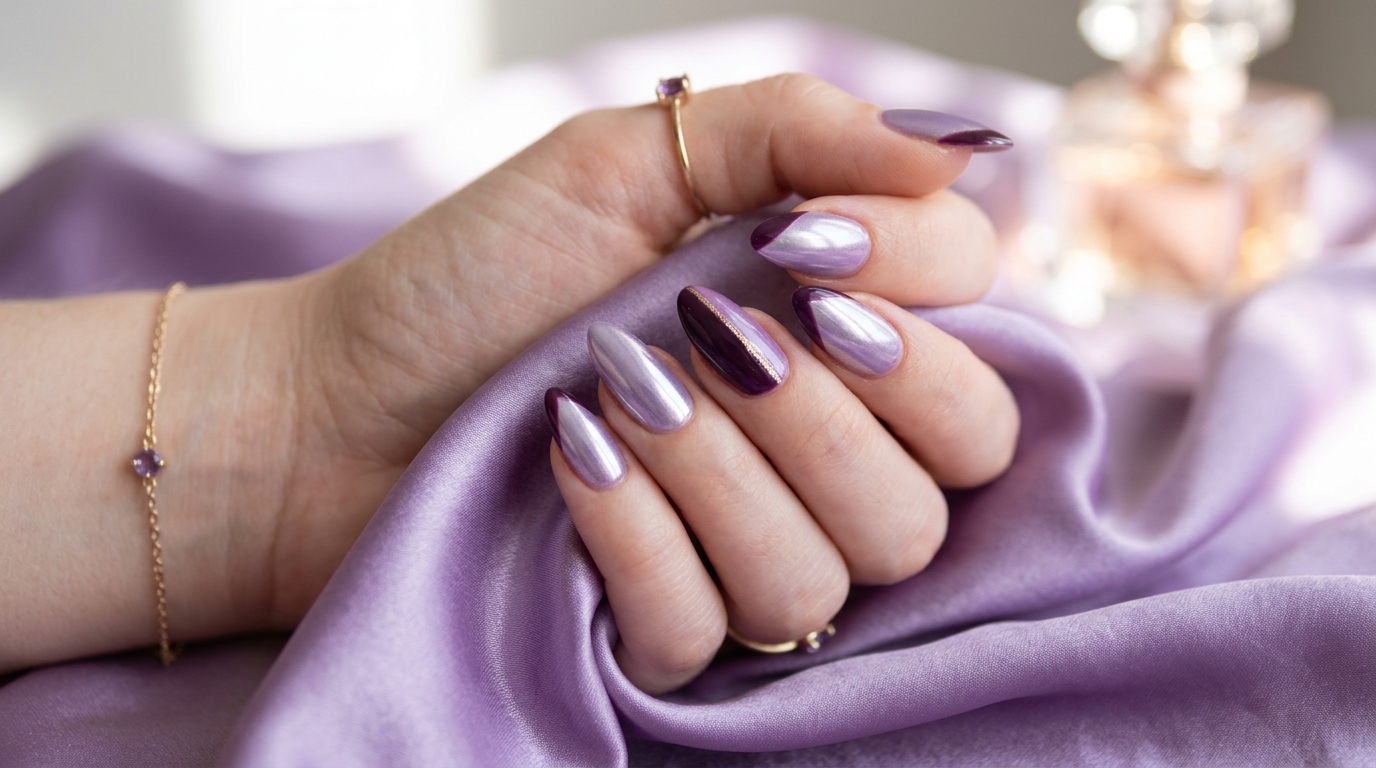
  • Velvet Cat-Eye Romance: Shimmering magnetic particles in rose quartz or deep burgundy that create an iridescent silk ribbon illusion across the nail plate.
Interactive Salon Studio

Virtual Nail Art & Recipe Studio

Tap any cute aesthetic below to preview the layered design, salon formula, and application technique.

Micro-French Line: 0.8mm
Beginner Friendly • DIY or Salon

01. Pastel Micro French Tip

Salon Time 45 Mins

A razor-thin 1mm French smile line painted using a fine 000 striper brush over a sheer milky pink base. Gives natural nails elongated elegance without overpowering the nail plate.

Recommended Color Palette:
Sheer Milk Base
Hot Pink Gel
Glossy Top Gel
Master Tech Secret: Rest your pinky finger against your client's finger to stabilize the liner brush. Flash-cure each finger for 10 seconds immediately after painting to freeze the razor-thin smile line before it settles into lateral sidewalls.

2. The Dotting Tool Heart Masterclass: Step-by-Step Geometry

Hand-painting symmetrical hearts with a standard nail brush is notoriously difficult. In master nail education, we train technicians to create mathematically flawless hearts in under ten seconds using only a dual-ended metal dotting tool and a fine liner brush:

  1. Dispense Gel Droplet: Place a nickel-sized drop of red or pink gel polish onto a ceramic palette or piece of aluminum foil.
  2. Dip the Medium Ball: Submerge only the rounded metal ball of your dotting tool into the gel. Ensure there is a spherical bead of polish resting on the tip.
  3. Place Two Side-by-Side Dots: Lightly press the dotting tool onto the cured nail plate twice, creating two identical dots situated approximately 1 millimeter apart. These form the curved upper lobes of your heart.
  4. Draw Down with Liner Brush: Take a 7mm or 9mm fine liner brush. Place the brush tip at the outer edge of the left dot and draw a diagonal line downward at a 45-degree angle. Repeat from the right dot, converging the two lines at a sharp bottom point.
  5. Fill & Flash Cure: Use the brush to gently blend the center of the heart where the dots meet the point. Immediately flash-cure under your handheld LED torch for 10 seconds to freeze the geometry before the gel self-levels and loses its sharp point.

4. Securing 3D Pearls, Charms & Crystals for 3+ Weeks

There is nothing more frustrating than having an adorable 3D pearl, crystal heart, or metallic bow pop off your nail 24 hours after leaving the salon. In professional nail application, standard nail glue is never used to attach heavy 3D elements to gel sets.

The Master Encapsulation Protocol:

Always use a high-viscosity Rhinestone Sculpting Gel or hard builder putty. Place a generous bead of sculpting gel onto the finished, cured color coat. Seat your 3D charm firmly into the bead so that the gel slightly squishes up around the metal base. Flash-cure with a handheld LED torch. Then, take a fine liner brush dipped in non-wipe top coat and trace a continuous microscopic moat around the entire perimeter of the charm. Cure for a full 60 seconds in your main lamp. This locks the charm into a seamless synthetic bezel that cannot be snagged by hair or clothing.

Frequently Asked Questions

Reader Q&A • Expert Insights

Frequently Asked Questions

Expert-verified answers to common questions about techniques, products, and safety.

What is the best nail shape for Valentine heart nail art?

Soft almond and oval shapes provide the most natural, romantic canvas. The curved tip mimics the rounded lobes of heart motifs, making fingers look long and slender.

How do I keep 3D nail charms from catching in my hair?

The secret is sealing the perimeter. Have your technician run a bead of clear builder gel around the base perimeter of the charm to eliminate all microscopic gaps and sharp edges.

Can I do heart nail art on short natural nails?

Yes! Micro-hearts look even cuter on short squoval nails. Place one tiny 1mm heart at the center of the cuticle lunula on a sheer nude base for an understated, classy look.