What are gel nails and how do they work?
Gel nails are a long-lasting manicure enhancement created using photo-reactive acrylate oligomers that polymerize into a flexible, resilient coating under LED or UV light. Unlike conventional lacquer that air-dries via solvent evaporation, gel polishes cure instantly, resist chipping for 14 to 21 days, and preserve the natural nail plate when properly soaked off with pure acetone.
1. The Chemistry of Gel Polish: How Oligomers Transform
To understand why gel nails have revolutionized the modern beauty industry, one must understand basic polymer science. Traditional nail lacquers rely on solvent evaporation: nitrocellulose and resin compounds dissolved in butyl acetate or ethyl acetate harden as the liquid molecules evaporate into the air over 30 to 45 minutes. This leaves behind a brittle, thin coating susceptible to scratching and daily water absorption.
In contrast, gel nail systems are 100% reactive liquids. They contain zero evaporating volatile solvents. Instead, they are formulated with three core biochemical constituents:
- Acrylate & Methacrylate Oligomers: These are short, pre-polymerized chains of synthetic resin (such as urethane acrylates or di-HEMA). Oligomers provide the structure, flexibility, and high-tensile resistance that prevent the nail from chipping when bumped.
- Monomer Reactive Diluents: Smaller single-unit molecules (such as hydroxyethyl methacrylate, or HEMA) that lower the liquid's viscosity, allowing the polish to level smoothly across the nail plate.
- Photoinitiators: Light-sensitive chemical triggers (such as TPO, BAPO, or camphorquinone) that absorb specific wavelengths of ultraviolet or blue visible light.
When your hands enter the curing lamp, photon energy strikes these photoinitiators, instantly cleaving their molecular bonds into reactive free radicals. These free radicals trigger a cascading chain reaction, linking neighboring oligomers into a dense, cross-linked polymer lattice within 30 to 60 seconds.
2. Soft Gel vs. Hard Gel Systems: Choosing the Right Structure
In professional salon practice, the term "gel" spans several distinct chemical formulations. Choosing the incorrect system for your nail bed type is the leading cause of premature chipping and nail plate thinning:
Soft Gel (Soak-Off Gel Polish & Rubber Base)
Soft gel formulations contain shorter oligomeric molecular chains and lower cross-linking density. This deliberate molecular spacing gives soft gel a high flexibility index—it bends, flexes, and rebounds in harmony with your natural nail plate. Because the polymer mesh contains micro-channels, acetone molecules can penetrate and dissolve the coating within 12 to 15 minutes. Soft gel is ideal for natural nail overlays, short-to-medium lengths, and flexible nail beds.
Hard Gel (Builder & Sculpting Resins)
Hard gel is formulated with long, tightly woven polymer chains with zero micro-porosity. It is completely impervious to acetone and organic solvents. Because hard gel does not dissolve, it must be gently buffed down with an electric file during maintenance infills. Hard gel possesses immense compressive strength, making it the gold standard for sculpting long extensions, repairing broken sidewalls, and reinforcing weak, bendable nails.
Gel-X & Soft Gel Extension Tips
A contemporary innovation that combines the speed of press-ons with the durability of gel. Pre-formed soft-gel full-cover tips are adhered to the natural nail using a specialized soak-off extend gel, providing 3 to 4 weeks of wear while soaking off completely in acetone.
3. The Photobiology of LED vs. UV Curing (Why Wattage Matters)
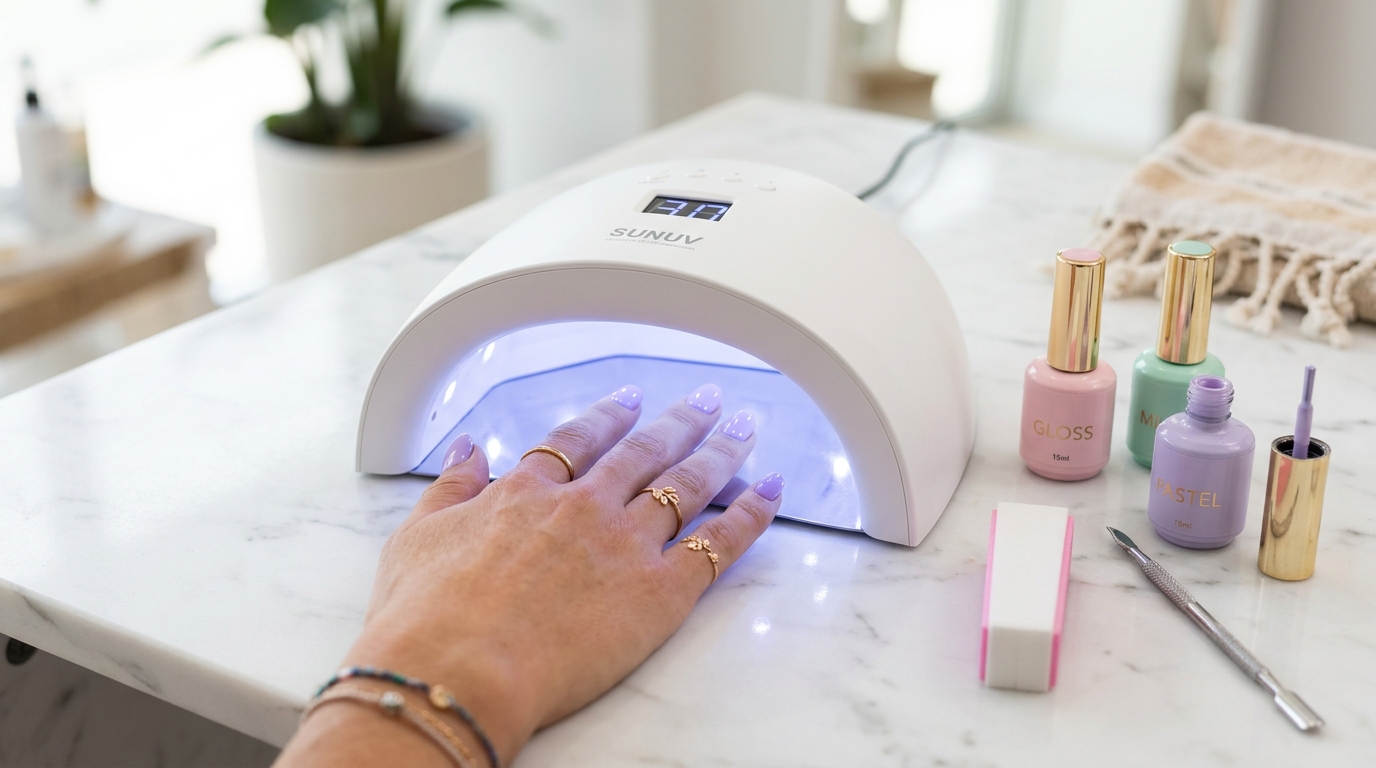
A common misconception in nail care is that LED lamps and UV lamps emit completely different kinds of light. In reality, both lamps cure gel using ultraviolet-A (UVA) energy. The difference lies entirely in how that light is generated and focused:
- Traditional Fluorescent UV Lamps: Emit a broad spectrum of UVA light centered around 365 nanometers (nm). Because the light is diffuse and low-intensity, curing takes 120 seconds per coat.
- Modern LED Lamps: Utilize narrow-band Light Emitting Diodes emitting concentrated wavelengths between 395nm and 405nm. Because the irradiance (light density) is significantly higher, photoinitiator activation occurs in just 30 to 60 seconds.
- Dual-Wavelength Professional Lamps: High-end salon lamps incorporate dual-chip diodes (emitting both 365nm and 405nm), guaranteeing that any gel polish brand on the market will achieve 100% polymerization.
Dermatologist Safety Alert: Never purchase cheap, low-wattage USB mini-lamps (under 24 Watts). While an under-powered lamp can cure the surface of a gel polish so it feels dry to the touch, the base layer next to your nail plate remains uncured. Liquid monomer seeps through the porous keratin plate, triggering permanent contact dermatitis and lifelong acrylate allergies.
4. Zero-Lifting Nail Plate Preparation Protocol
Ask any master nail technician why gel lifts after 3 days, and they will give you one answer: improper preparation. The human nail plate is not a smooth, dry surface; it is an active biological tissue constantly exuding moisture and sebaceous lipids from the underlying vascular nail bed.
Follow this clinical 5-step preparation protocol to guarantee 3 weeks of zero-lifting adhesion:
- Dry Manicure Only: Never perform a traditional wet manicure or soak your hands in water prior to gel application. The keratin plate is hygroscopic—it absorbs water, expands by up to 15%, and flattens. When you apply gel over an expanded wet nail, the plate slowly contracts over the next 24 hours as water evaporates, breaking the covalent adhesive bond.
- Cuticle vs. Eponychium Distinction: Pushing back the living skin (eponychium) is not enough. You must carefully scrape away the true cuticle—the invisible layer of dead, transparent pterygium cells adhered tightly to the base of the nail plate. Use a 240-grit buffer or an orangewood stick wrapped in a damp alcohol wipe. Gel will never adhere to dead keratinized skin.
- Surface Etching: Take a 240-grit fine buffer and gently swipe vertically along the natural grain of the nail plate to remove the shiny surface lipid layer. Never use harsh 80-grit or 100-grit files designed for artificial acrylic extensions.
- Double Alcohol Dehydration: Saturate a lint-free cotton wipe with 99% pure isopropyl alcohol. Scrub the nail plate, sidewalls, and cuticle pockets vigorously until the nail makes a clean squeaking sound.
- Acid-Free Bonding Primer: Brush a micro-thin, almost dry coat of acid-free primer over the free edge and stress zone. This leaves behind a sticky microscopic film that acts like double-sided tape for the gel base coat.
5. Step-by-Step Professional Application Protocol
Once your prep is immaculate, execute your application in precise, paper-thin layers:
- Step 1: The Rubber Base Foundation: Apply a whisper-thin layer of rubber base or standard soak-off base coat. Push the bead of gel toward the cuticle, stopping 1 millimeter before touching the skin. Cap the free edge tip. Cure for 30 seconds under a 48W LED lamp.
- Step 2: Color Coat #1 (The Slip Layer): Gel polish self-levels based on surface tension. Apply your first color coat as thinly as humanly possible. Even if the color looks streaky or translucent, resist the urge to glob on more polish. Cap the edge and cure for 60 seconds.
- Step 3: Color Coat #2 (Opacity & Depth): Apply a second thin coat to achieve full opacity and rich color saturation. Cure for 60 seconds.
- Step 4: Top Coat Seal: Float a generous layer of high-gloss, no-wipe top coat over the center of the nail, allowing it to self-level for 5 seconds before entering the lamp. Cure for a full 60 seconds.
- Step 5: Post-Cure Cool Down: Wait 60 seconds after your hands exit the lamp before applying cuticle oil. The polymer cross-linking reaction continues for roughly one minute after exposure to UV photons; touching hot gel prematurely can dull the glass-like shine.
6. Comprehensive Comparison: Gel vs. Acrylic vs. Press-On Systems
To help you understand where gel fits among other popular manicure enhancements, examine this empirical comparison table:
System Comparison: Soft Gel vs. Hard Gel vs. Acrylic
| Metric / Specification | Soft Gel (Gel Polish / Gel-X) | Hard Gel (Builder / Sculpting) | Traditional Acrylic (L&P) |
|---|---|---|---|
| Polymer Chemistry | Di-HEMA & oligomers + photoinitiators | Dense high-molecular urethane oligomers | Polymethyl methacrylate powder + EMA liquid |
| Curing Mechanism | Narrowband LED (30-60s) / UV (120s) | UV/LED radiation only | Evaporative catalytic cross-linking |
| Flexibility Index | High (flexes with natural keratin) | Medium-High (impact-absorbing) | Rigid (transfers shear force to bed) |
| Typical Salon Lifespan | 14 – 21 Days without chipping | 3 – 5 Weeks between rebalances | 2 – 4 Weeks between infills |
| Removal Protocol | 100% soak-off in acetone (15 min) | E-file thinning only (insoluble) | Acetone soak-off (25-35 min) |
| Dorsal Keratin Damage | Minimal (when soaked off correctly) | Zero (thin protective base left intact) | Moderate to High from mechanical drills |
7. 8 Critical Gel Mistakes & How to Fix Them
Even experienced beauty enthusiasts run into application hiccups. Here is how professional salon educators diagnose and troubleshoot common gel issues:
- Cuticle Flooding: If gel touches your skin or lateral sidewalls, wipe it away with an angled brush dipped in alcohol before curing. Once cured onto living skin, a ridge forms that lifts the entire manicure within 48 hours.
- Heat Spikes Inside the Lamp: Highly pigmented builder gels cure so rapidly that the exothermic reaction produces an intense burning sensation. If you feel heat, immediately pull your hand out of the lamp for 5 seconds, let the reaction cool, and reinsert.
- Thumb Under-Curing: When placing your whole hand flat inside a lamp, thumbs naturally tilt downward at an angle, receiving 50% less direct light. Always cure your four fingers first, then cure both thumbs together lying completely flat.
- Failure to Cap the Free Edge: Natural fingernails are porous and constantly expand when washing dishes or showering. If the free edge tip is uncapped, water seeps between the nail and the gel, popping the polish off in sheets.
- Filing After Topcoat: Never shape or file your nails after applying topcoat. Doing so breaks the sealed polymer cap, exposing raw layers to immediate chipping.
8. Damage-Free Soak-Off Therapy (Protecting the Keratin Plate)
The human nail plate is composed of roughly 100 to 150 compressed layers of dead, flattened keratinocytes held together by intracellular lipids. When you pick or peel gel polish off, you rip away between 20 and 30 layers of dorsal keratin. This causes instant white chalky patches (keratin granulations), painful sensitivity to hot water, and nails that tear like wet tissue paper.
To preserve 100% of your nail plate thickness, use the Clinical Cotton & Foil Soak-Off Method:
- File Off the Topcoat: Use a 150-grit hand file to break through the impervious topcoat. Continue filing until the entire surface is completely matte and dull. This allows acetone to reach the porous color layer underneath.
- Protect Surrounding Skin: Coat your cuticles and finger tips with petroleum jelly or a rich balm to shield your living skin from the dehydrating effects of acetone.
- Saturate Cotton in 100% Pure Acetone: Cosmetic polish removers containing water and oils dilute the solvent action and double your soaking time. Use pure acetone. Place the saturated cotton directly on the nail and wrap securely with aluminum foil (or silicone soak-off clips).
- Wait 15 Minutes: Keep your hands warm (wrapping your hands in a warm towel accelerates the chemical breakdown). The acetone swells the polymer matrix, causing it to crumble and slide away effortlessly.
- Gentle Pusher Pass: Gently glide an orangewood stick across the surface. If any spots feel sticky or resistant, re-wrap for another 5 minutes. Never scrape, gouge, or chisel.
- Lipid Replenishment: Immediately saturate your bare nails with pure unrefined jojoba oil. Jojoba oil is a liquid wax ester with a molecular size tiny enough to penetrate through the keratin layers, replenishing lost lipids.
9. Continue Your Nail Journey: Explore More Guides
Gel manicures are just one part of a comprehensive nail care routine. To continue refining your knowledge:
- Looking for a quick weekend alternative? Read our complete Press-On Nails Sizing & Application Guide.
- Debating between acrylics and gel? Compare the durability, costs, and health impacts in our Acrylic vs. Gel Nails Analysis.
- Ready to heal weak, brittle nails? Follow our dermatologist-approved 4-week recovery protocol in the Nail Health & Recovery Therapy Guide.
- Find the most flattering silhouette for your hands in our Nail Shapes & Hand Geometry Guide.
Related In-Depth Articles & Tutorials
Expert-tested guides on nail health, salon techniques, and at-home manicure care.
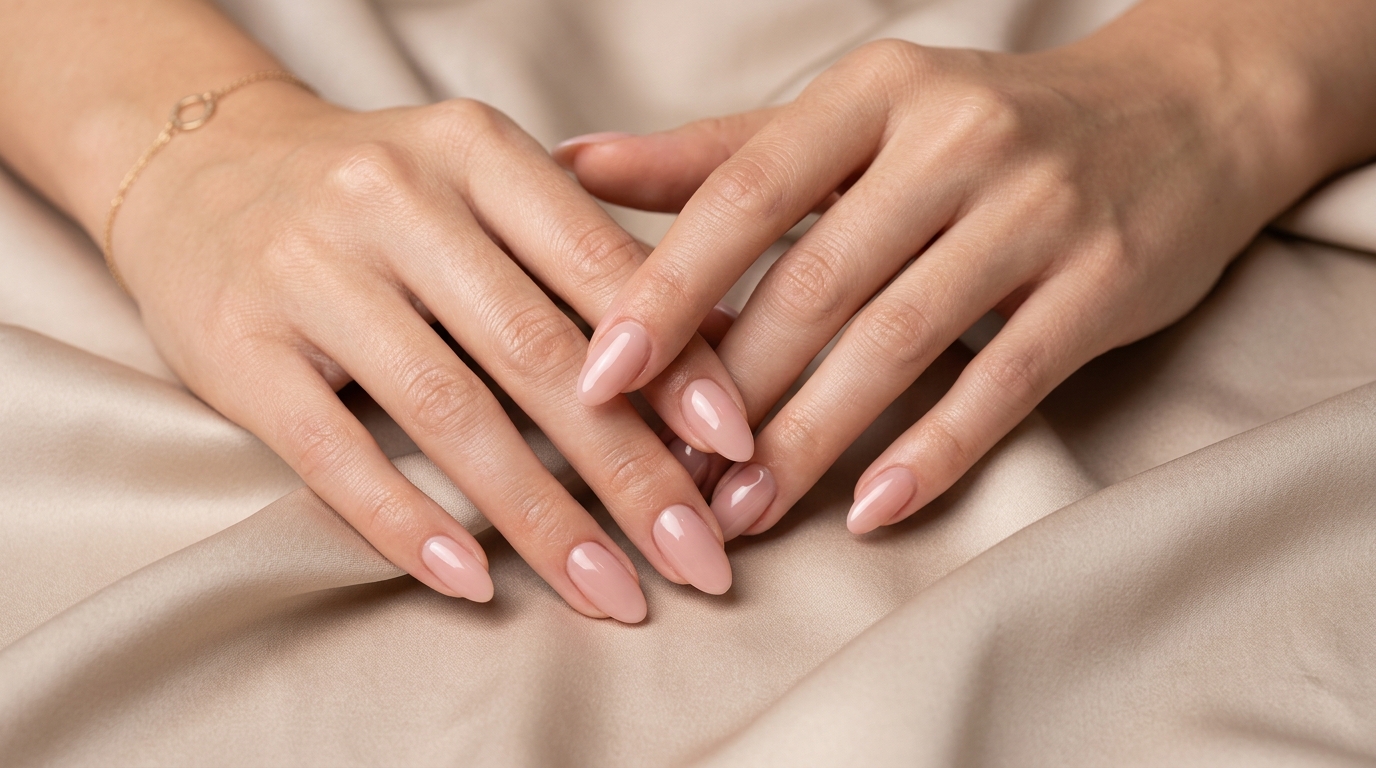
The Ultimate Gel Nails Guide: Science, Application & Care
Our complete master resource on gel manicures, UV/LED curing chemistry, salon vs. DIY longevity, and natural plate preservation.
DIY Tutorial How to Do Gel Nails at Home: Step-by-Step DIY Guide
Achieve salon-quality 3-week wear at home. Covers curing lamp wattages, prep protocols, and zero-lifting secrets.
 Trends & Sizing
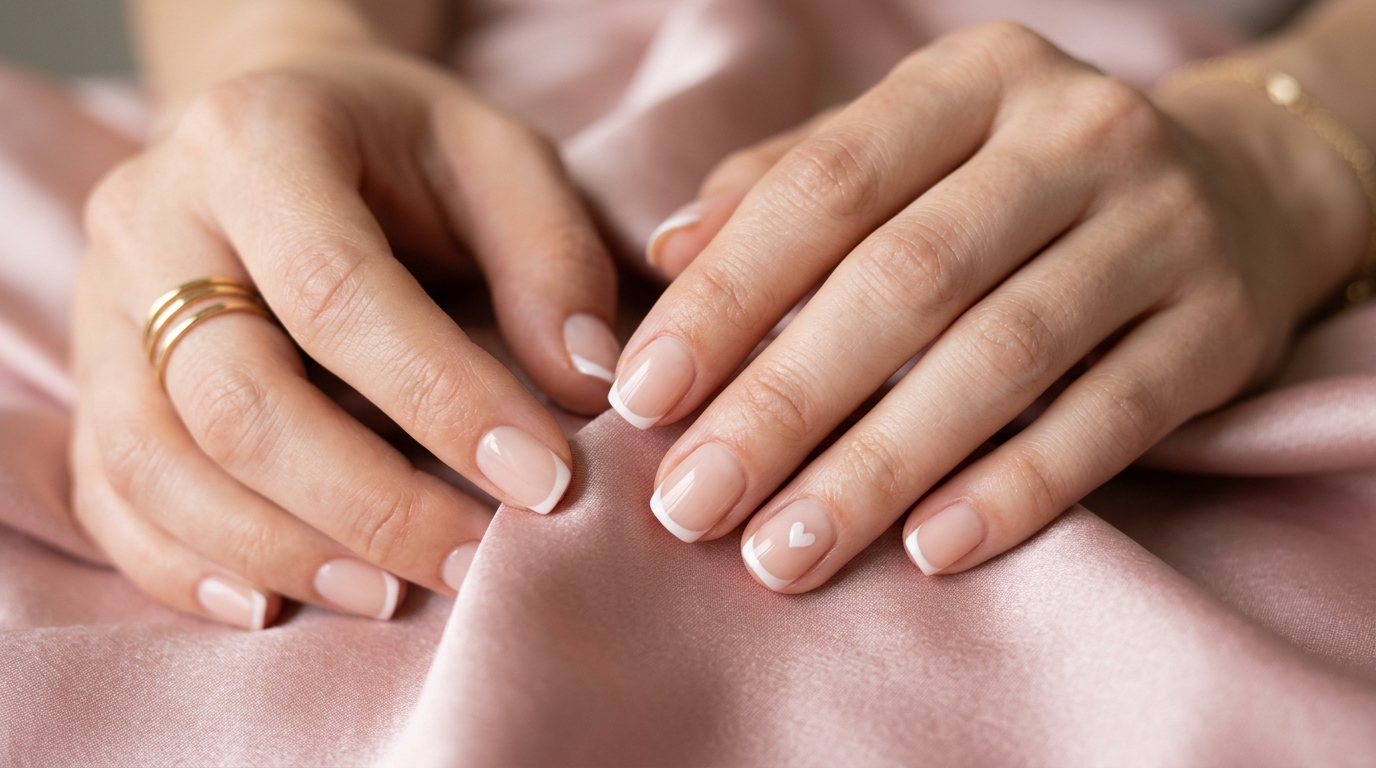
 Short Press-On Nails: Sizing Chart & 3-Week Application
Universal millimeter sizing chart for wide and petite nail beds, adhesive tabs vs. glue, and reusable tips.
 Product Guide
 Best Nail Glue for Press-Ons: Chemical Safety & Hold
Why household super glue damages nail beds, cosmetic ethyl cyanoacrylate chemistry, and gentle soak-off removal.
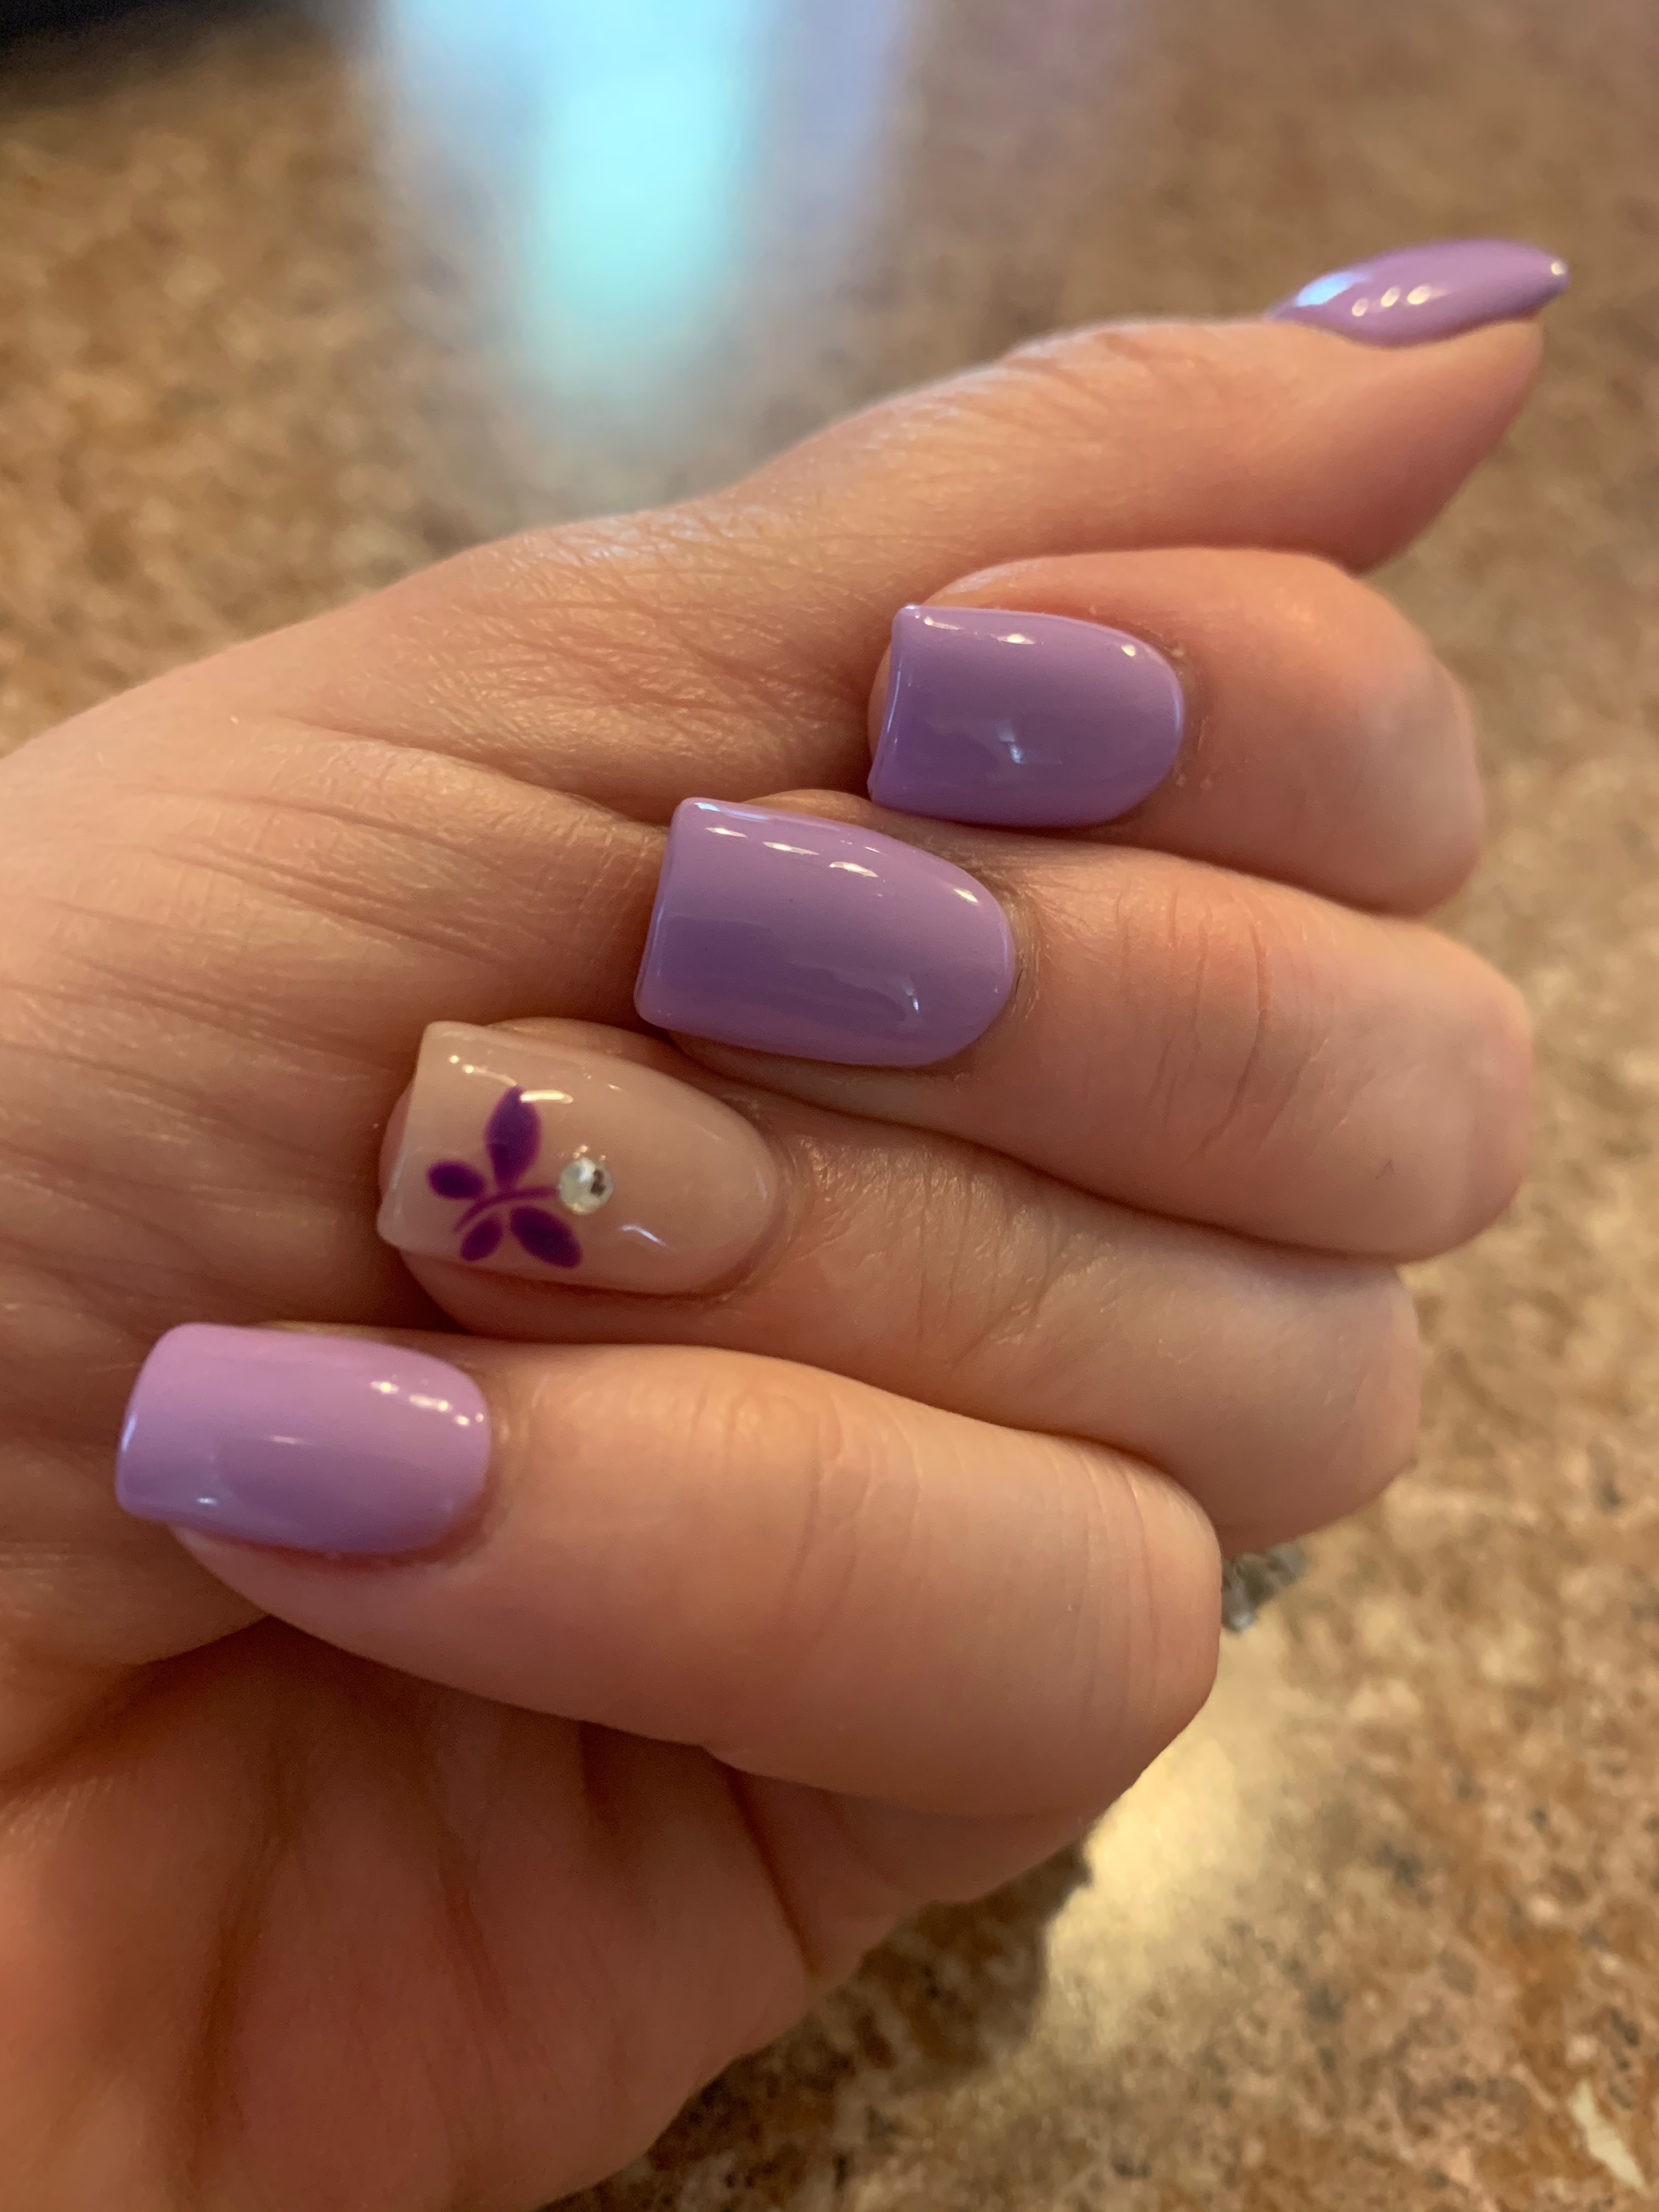 Comparison Guide
 Acrylic vs. Gel Nails: Longevity, Damage & Cost Comparison
Head-to-head breakdown of polymer powder vs. oligomer resins, durability ratings, flexibility, and nail plate health.
 Style Diagnostic
 The Complete Nail Shapes Guide: Geometry, Strength & Hands
Find the most flattering shape for your fingers: Oval, Short Coffin, Round, Almond, and Stiletto engineering.
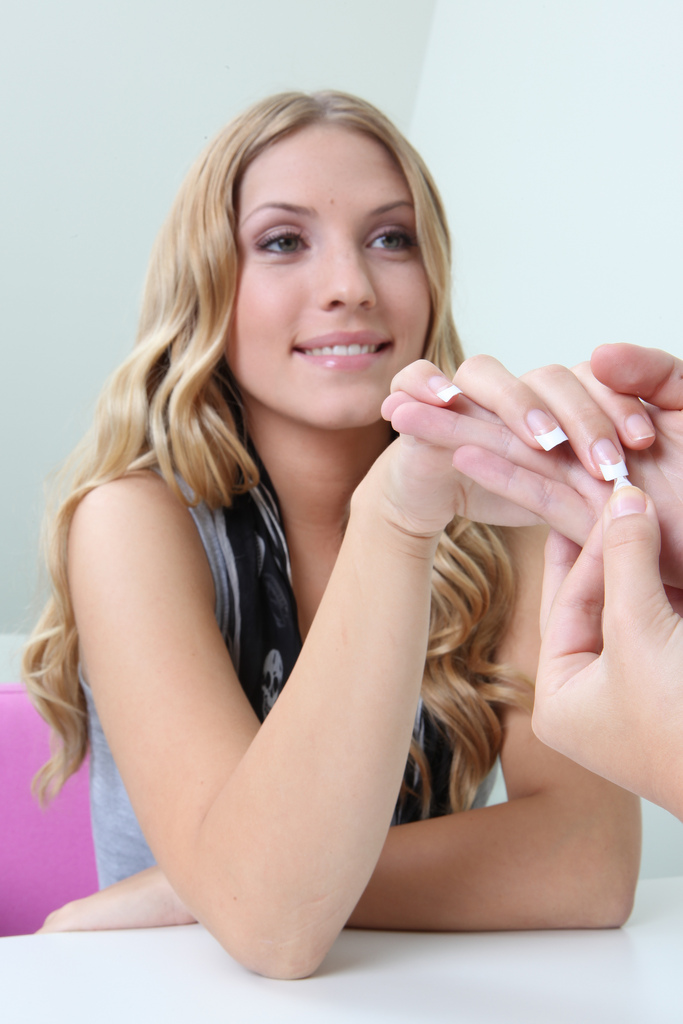 Care & Recovery
 Nail Health & Recovery Therapy: Grow Long Natural Nails
Dermatologist-reviewed 4-week protocol to heal damaged, bendable, or splitting nails after enhancements.
Frequently Asked Questions
Expert-verified answers to common questions about techniques, products, and safety.
How long do gel nails realistically last without lifting?
A professional gel manicure typically lasts between 14 and 21 days without chipping, peeling, or lifting. Longevity depends heavily on proper mechanical cuticle removal, chemical dehydration using 99% isopropyl alcohol, and sealing the free edge with topcoat.
Do gel nails ruin your natural nails permanently?
Gel polish does not ruin the natural nail plate. Damage occurs almost exclusively during improper removal—specifically forceful peeling or scraping softened gel off with metal tools, which strips away 20 to 30 layers of protective dorsal keratin cells.
What is the difference between an LED lamp and a UV lamp for gel nails?
LED lamps emit concentrated light between 395nm and 405nm, curing compatible photoinitiators in 30 to 60 seconds. Traditional UV lamps emit broader light (around 365nm) and require 120 seconds. Modern professional dual-wavelength lamps emit both (365nm + 405nm), safely curing any salon gel formula.
Can I do salon-quality gel nails at home?
Yes, provided you follow clinical preparation: use a dual-wavelength LED lamp of at least 36W (ideally 48W), an acid-free bonding primer, apply whisper-thin coats with a 1mm gap from the cuticle skin, and never touch uncured gel to bare flesh.
Why does gel polish wrinkle or bubble inside the lamp?
Wrinkling occurs when the color coat is applied too thickly. The high irradiance of the LED lamp rapidly hardens the top surface of the gel, blocking light from penetrating to the lower layers. The trapped liquid underneath expands and forms ripples.